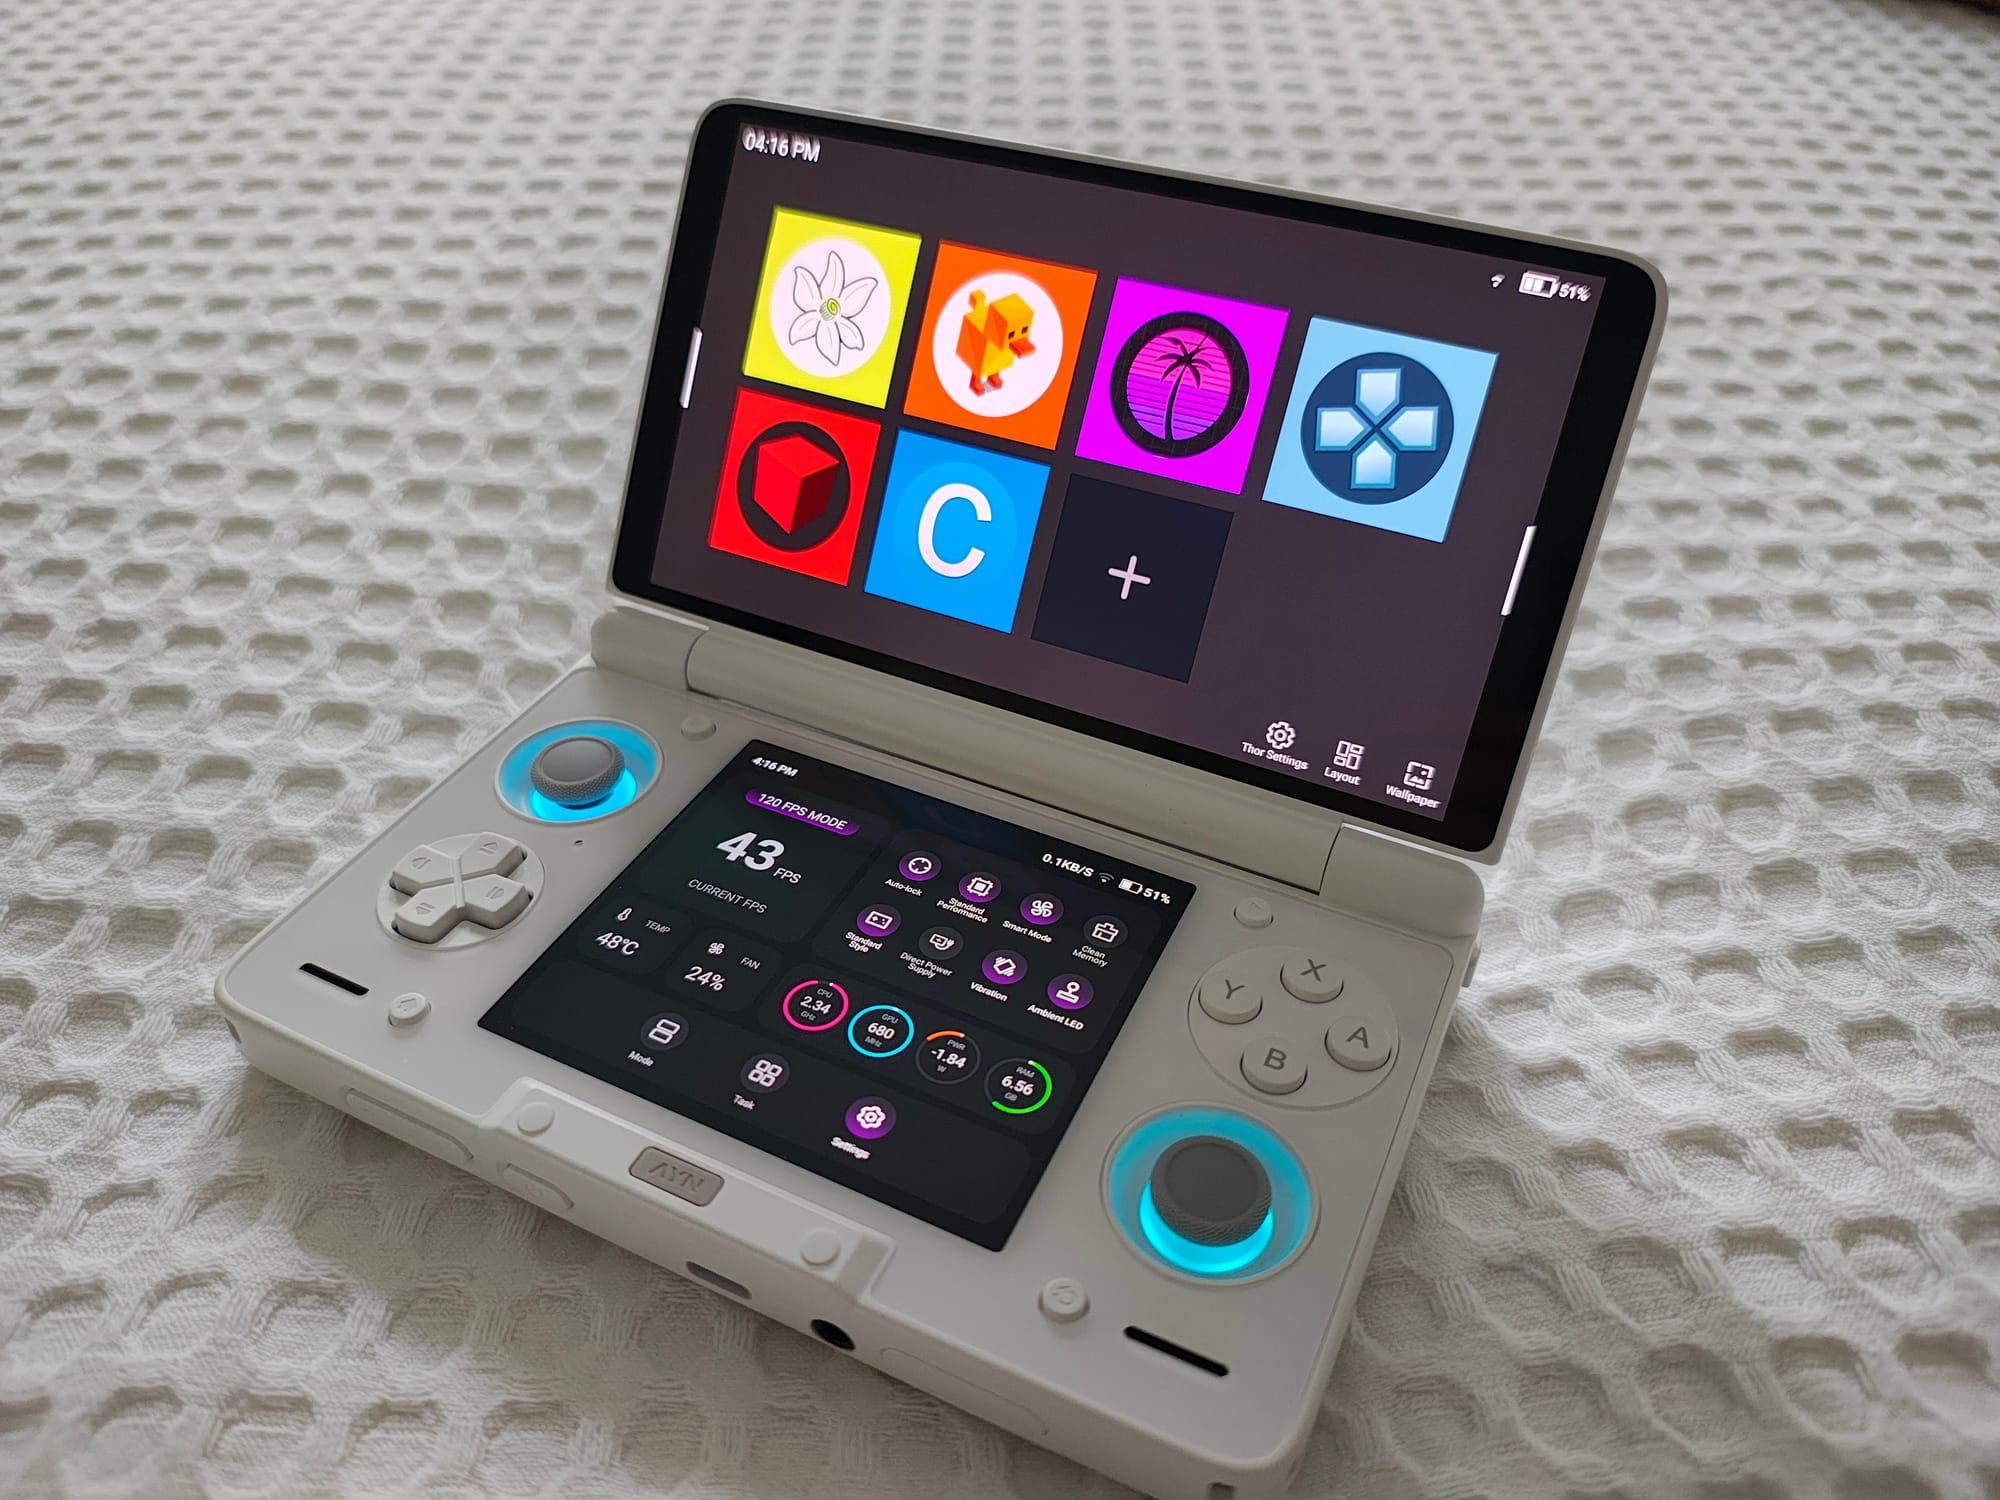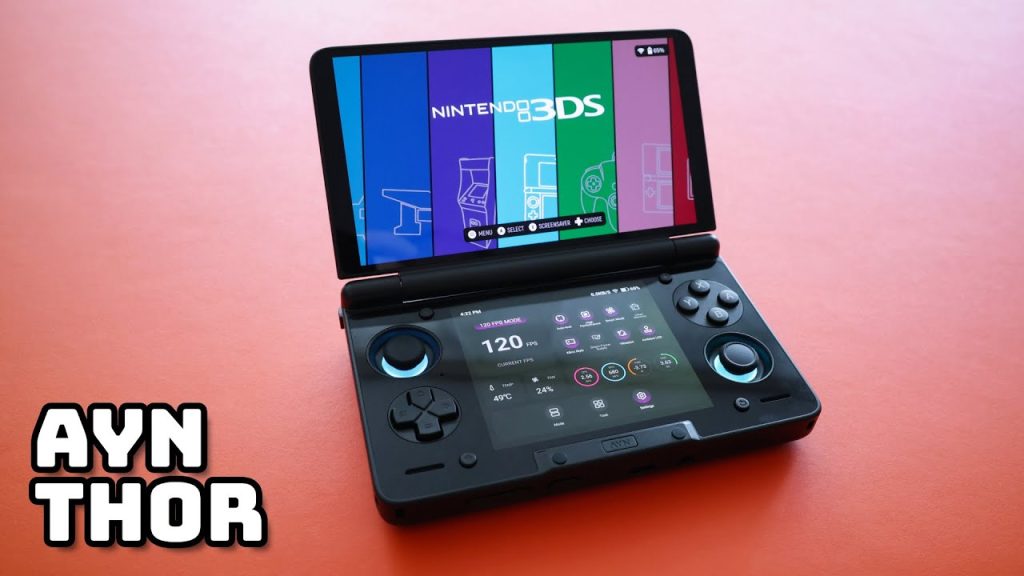
Welcome to the world of the AYN Thor – one of the most powerful and anticipated handheld gaming consoles on the market today. Whether you’ve just unboxed your device or are planning to pick one up, this guide will serve as your ultimate roadmap to optimizing your device from day one.
For power users (especially those with the Thor Max 16GB RAM/1TB storage version), mastering these steps will ensure you squeeze every watt of performance out of this “emulation beast.”
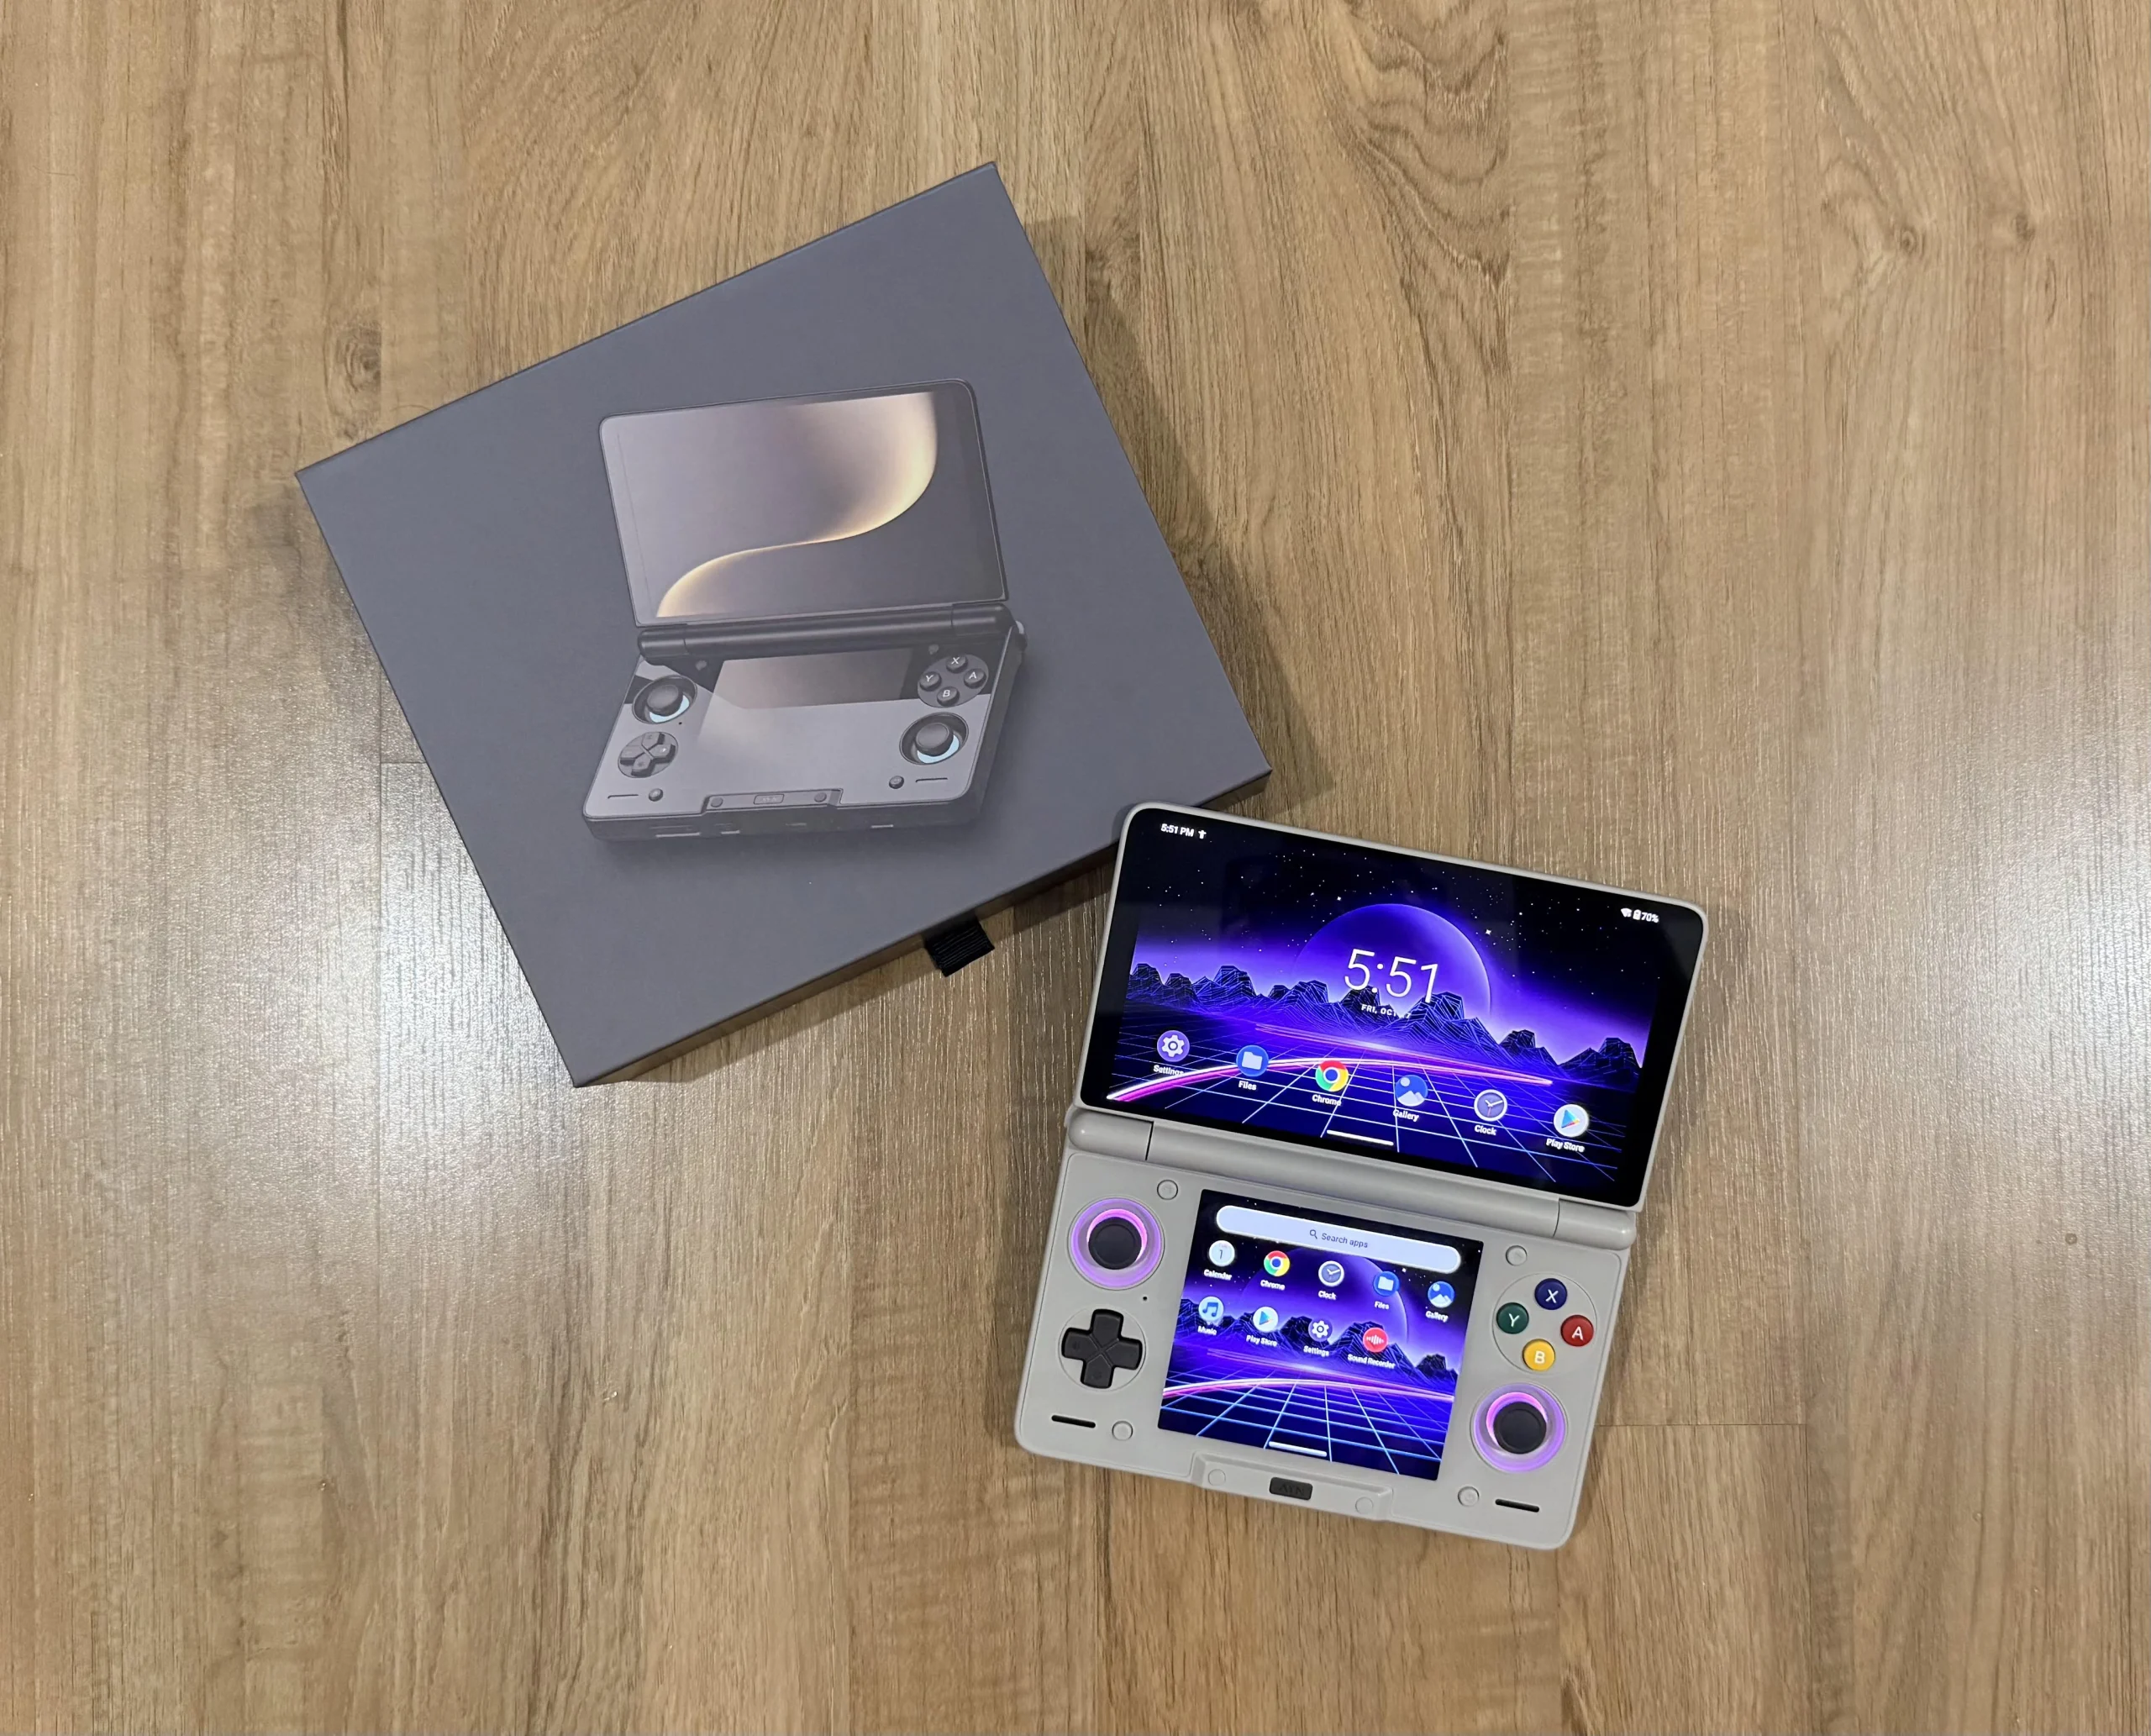
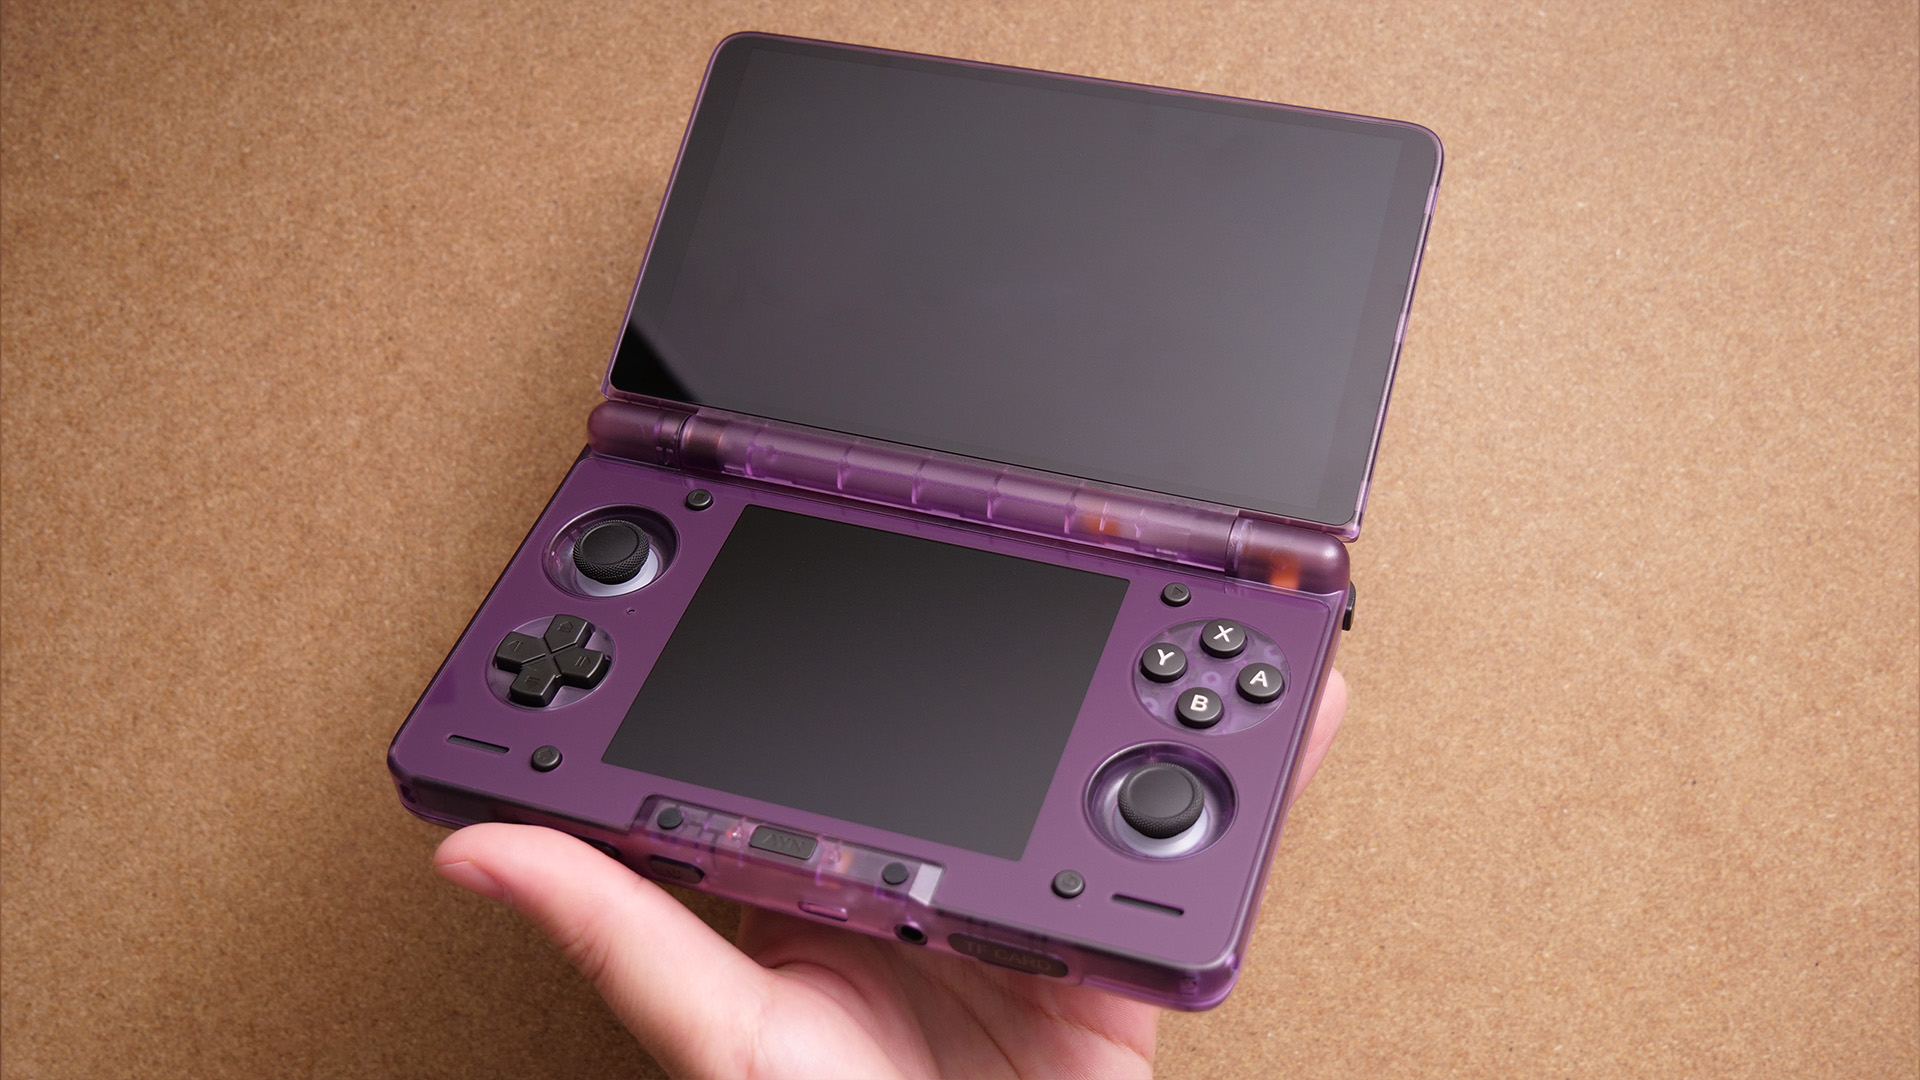
1. Unboxing & Hardware Deep-Dive
The first step isn’t just about peeling off the plastic; it’s about Quality Control (QC) to ensure your hardware is flawless before you load it with terabytes of data.
Check the Hall Effect Sensors: The AYN Thor uses magnets to measure distance instead of physical contact, eliminating “stick drift.” Go to Settings > Gamepad Test to verify sensitivity. Analog sticks should return to an absolute (0,0) center, and triggers (L2/R2) should register pressure accurately from 1 to 100%.
Display Inspection: Open a solid black image in a dark room to check for “backlight bleed.” With its high pixel density, you should also inspect the screen closely for any dead pixels.
Cooling System: Inspect the intake vents on the back and exhaust vents at the top. Ensure there is no debris obstructing the fan blades right out of the box.
2. Initial Setup & OS Optimization
Don’t rush to download games just yet. A “clean” and optimized OS will lead to a cooler device and longer battery life.
Remove Bloatware: Android often comes with unnecessary background apps. Go to Settings > Apps and Disable or uninstall anything you don’t need.
Enable Developer Options: Go to About Device and tap the Build Number 7 times. In the new Developer menu, set Window animation scale, Transition animation scale, and Animator duration scale to 0.5x. This makes the UI feel lightning-fast.
Google Play & Core Updates: After performing an OTA (Over-the-Air) system update, go to the Play Store and update Android System WebView and Google Play Services. These are critical for the stability of modern emulators.
3. Performance & Thermal Management
The AYN Thor allows you to intervene deeply in how the chipset operates. This is the key to playing “heavy” titles.
TDP Customization (Power Levels): In the Quick Settings pull-down menu, you will see various power modes:
Low (Battery Saver): Ideal for reading, movies, or 2D retro games (GBA, SNES). Battery can last over 10 hours.
Normal: The default balance for most Android games.
High/Performance: Mandatory for PS2, GameCube, and Switch emulation.
Fan Profiles:
Quiet: Slow fan speed, nearly silent; perfect for nighttime gaming on light titles.
Smart: Automatically ramps up when the CPU exceeds 60°C.
Sport/Full Speed: The fan will run at maximum RPM to keep the chip under 70°C during heavy emulation. Note: This is loud but provides the best protection for internal components.
4. Ultimate Emulation Setup
This is the most important section. To make the AYN Thor a true monster, you must install the correct software versions.
PS2 (NetherSX2): Instead of the outdated AetherSX2 version on the Play Store, search for NetherSX2 (a community-optimized mod). It fixes compatibility issues and significantly improves performance for newer chips.
Nintendo Switch (Sudachi/Yuzu/Skyline):
Firmware & Keys: You must copy the latest prod.keys and firmware files (e.g., version 18.0.0+) into the emulator’s system folder.
GPU Drivers: Install Turnip Drivers. These are open-source graphics drivers optimized for Adreno GPUs, allowing games like Skyrim or Zelda: Breath of the Wild to run without graphical glitches.
RetroArch (All-in-one): Use RetroArch for systems from PS1 and older. Use the SwanStation core for PS1 to upscale the resolution to 4K, making retro games look like modern remasters.
5. Storage Strategy & MicroSD Management
With a massive game library, organization saves you hours of scrolling.
MicroSD Card: Buy an A2 rated card (high random read/write speeds) to prevent stuttering during asset loading. Format it as exFAT to support files larger than 4GB.
Standard Directory Structure:
/ROMs/PS2: Store .iso or .chd files (use .chd to save space without losing quality).
/ROMs/Switch: Store .nsp or .xci files.
/ROMs/BIOS: Place all BIOS files here (e.g., scph1001.bin for PS1). Many beginners forget this step, causing emulators to fail on launch.
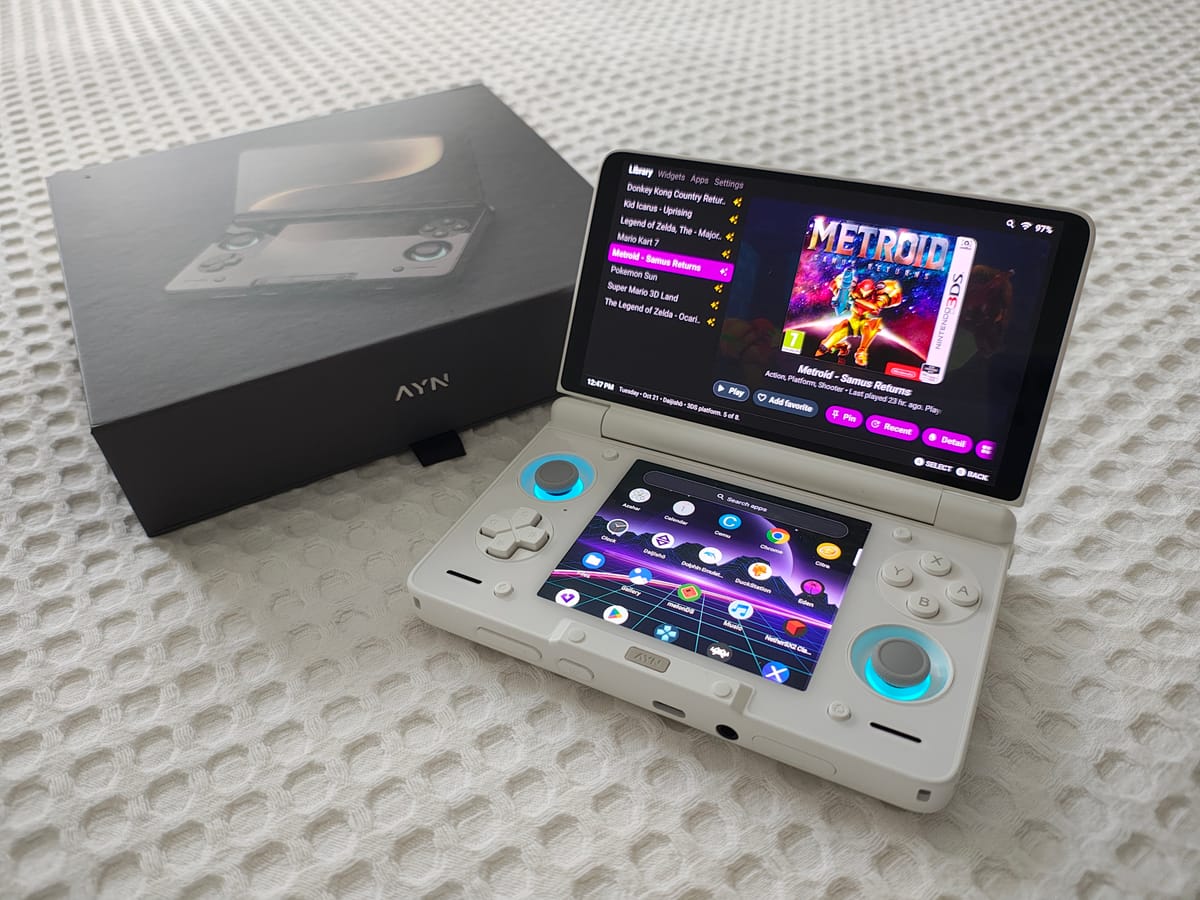
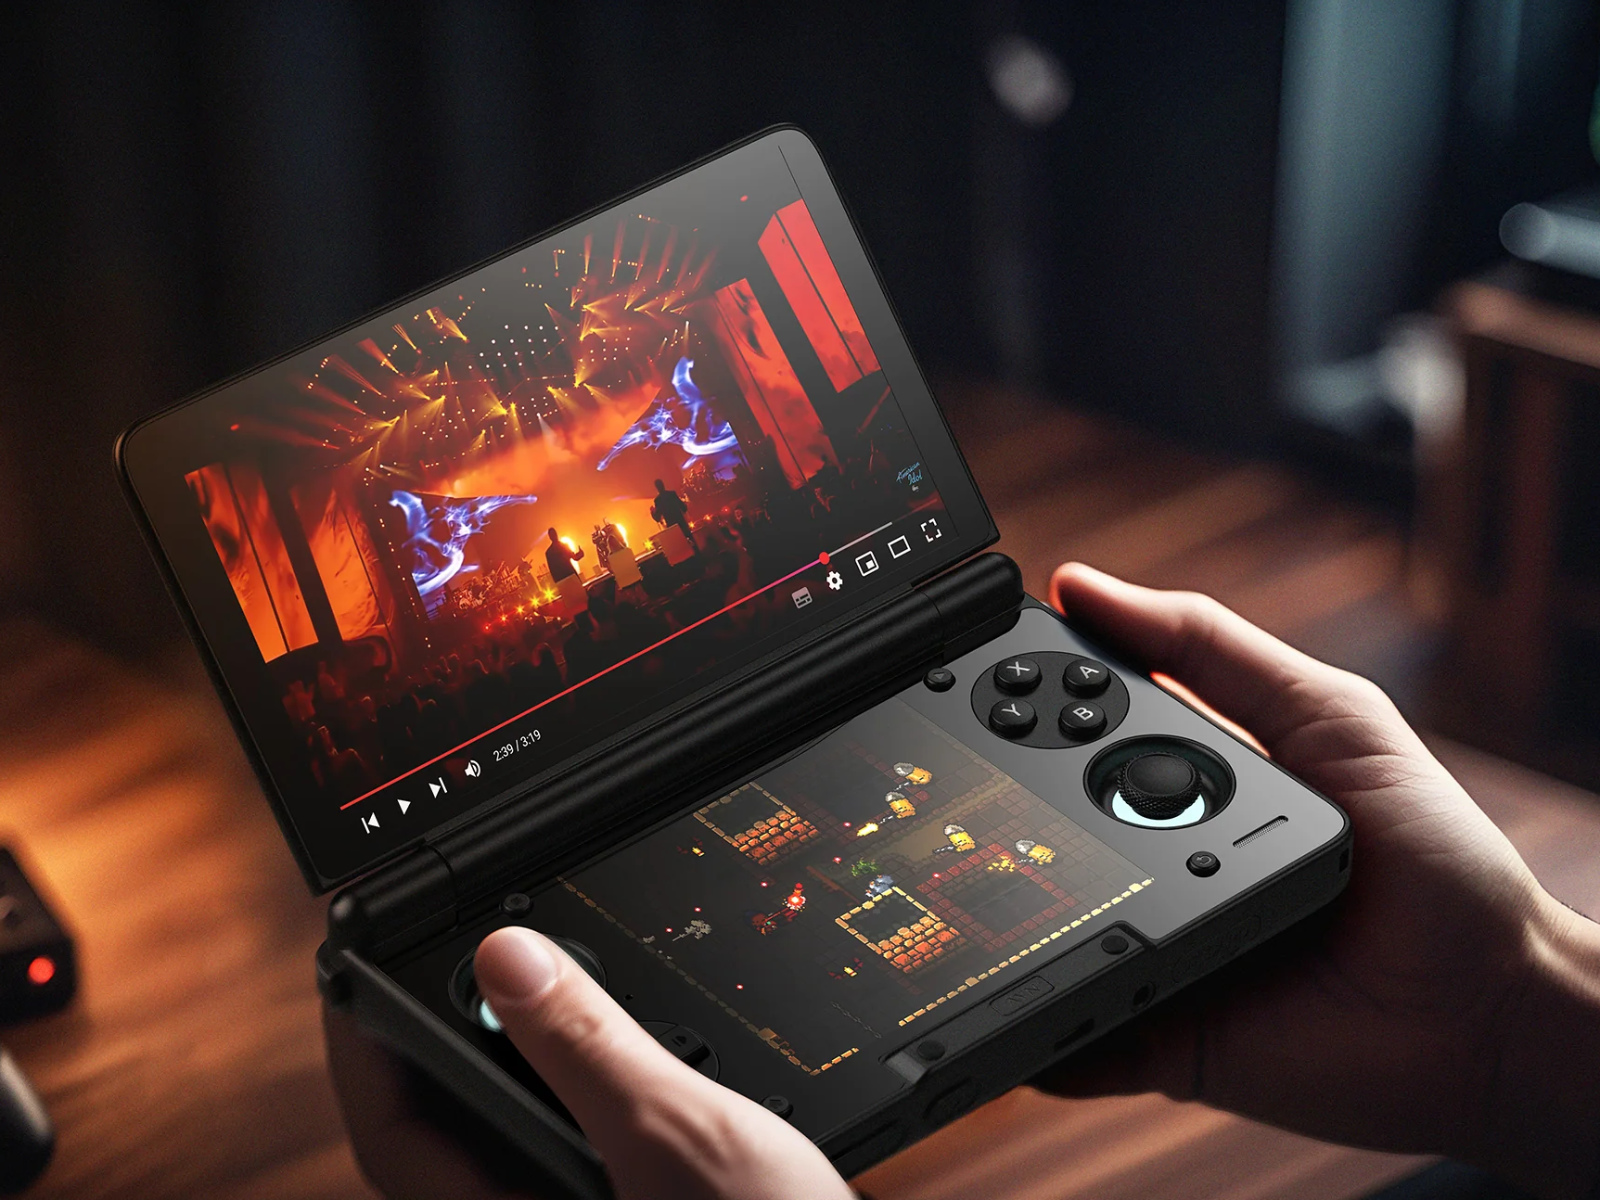
6. Front-end Setup (The Console Experience)
To make the device feel like a dedicated gaming console rather than an Android phone with a controller:
Daijishō Setup:
Download Daijishō from the Play Store.
Select “Download Platforms” and check the consoles you have games for.
Assign the “Path” to the corresponding ROM folders on your SD card.
Hit “Sync” to let the app automatically scrape high-quality box art.
Widgets: You can customize live wallpapers and widgets that display battery life and CPU temperature directly on the home screen.
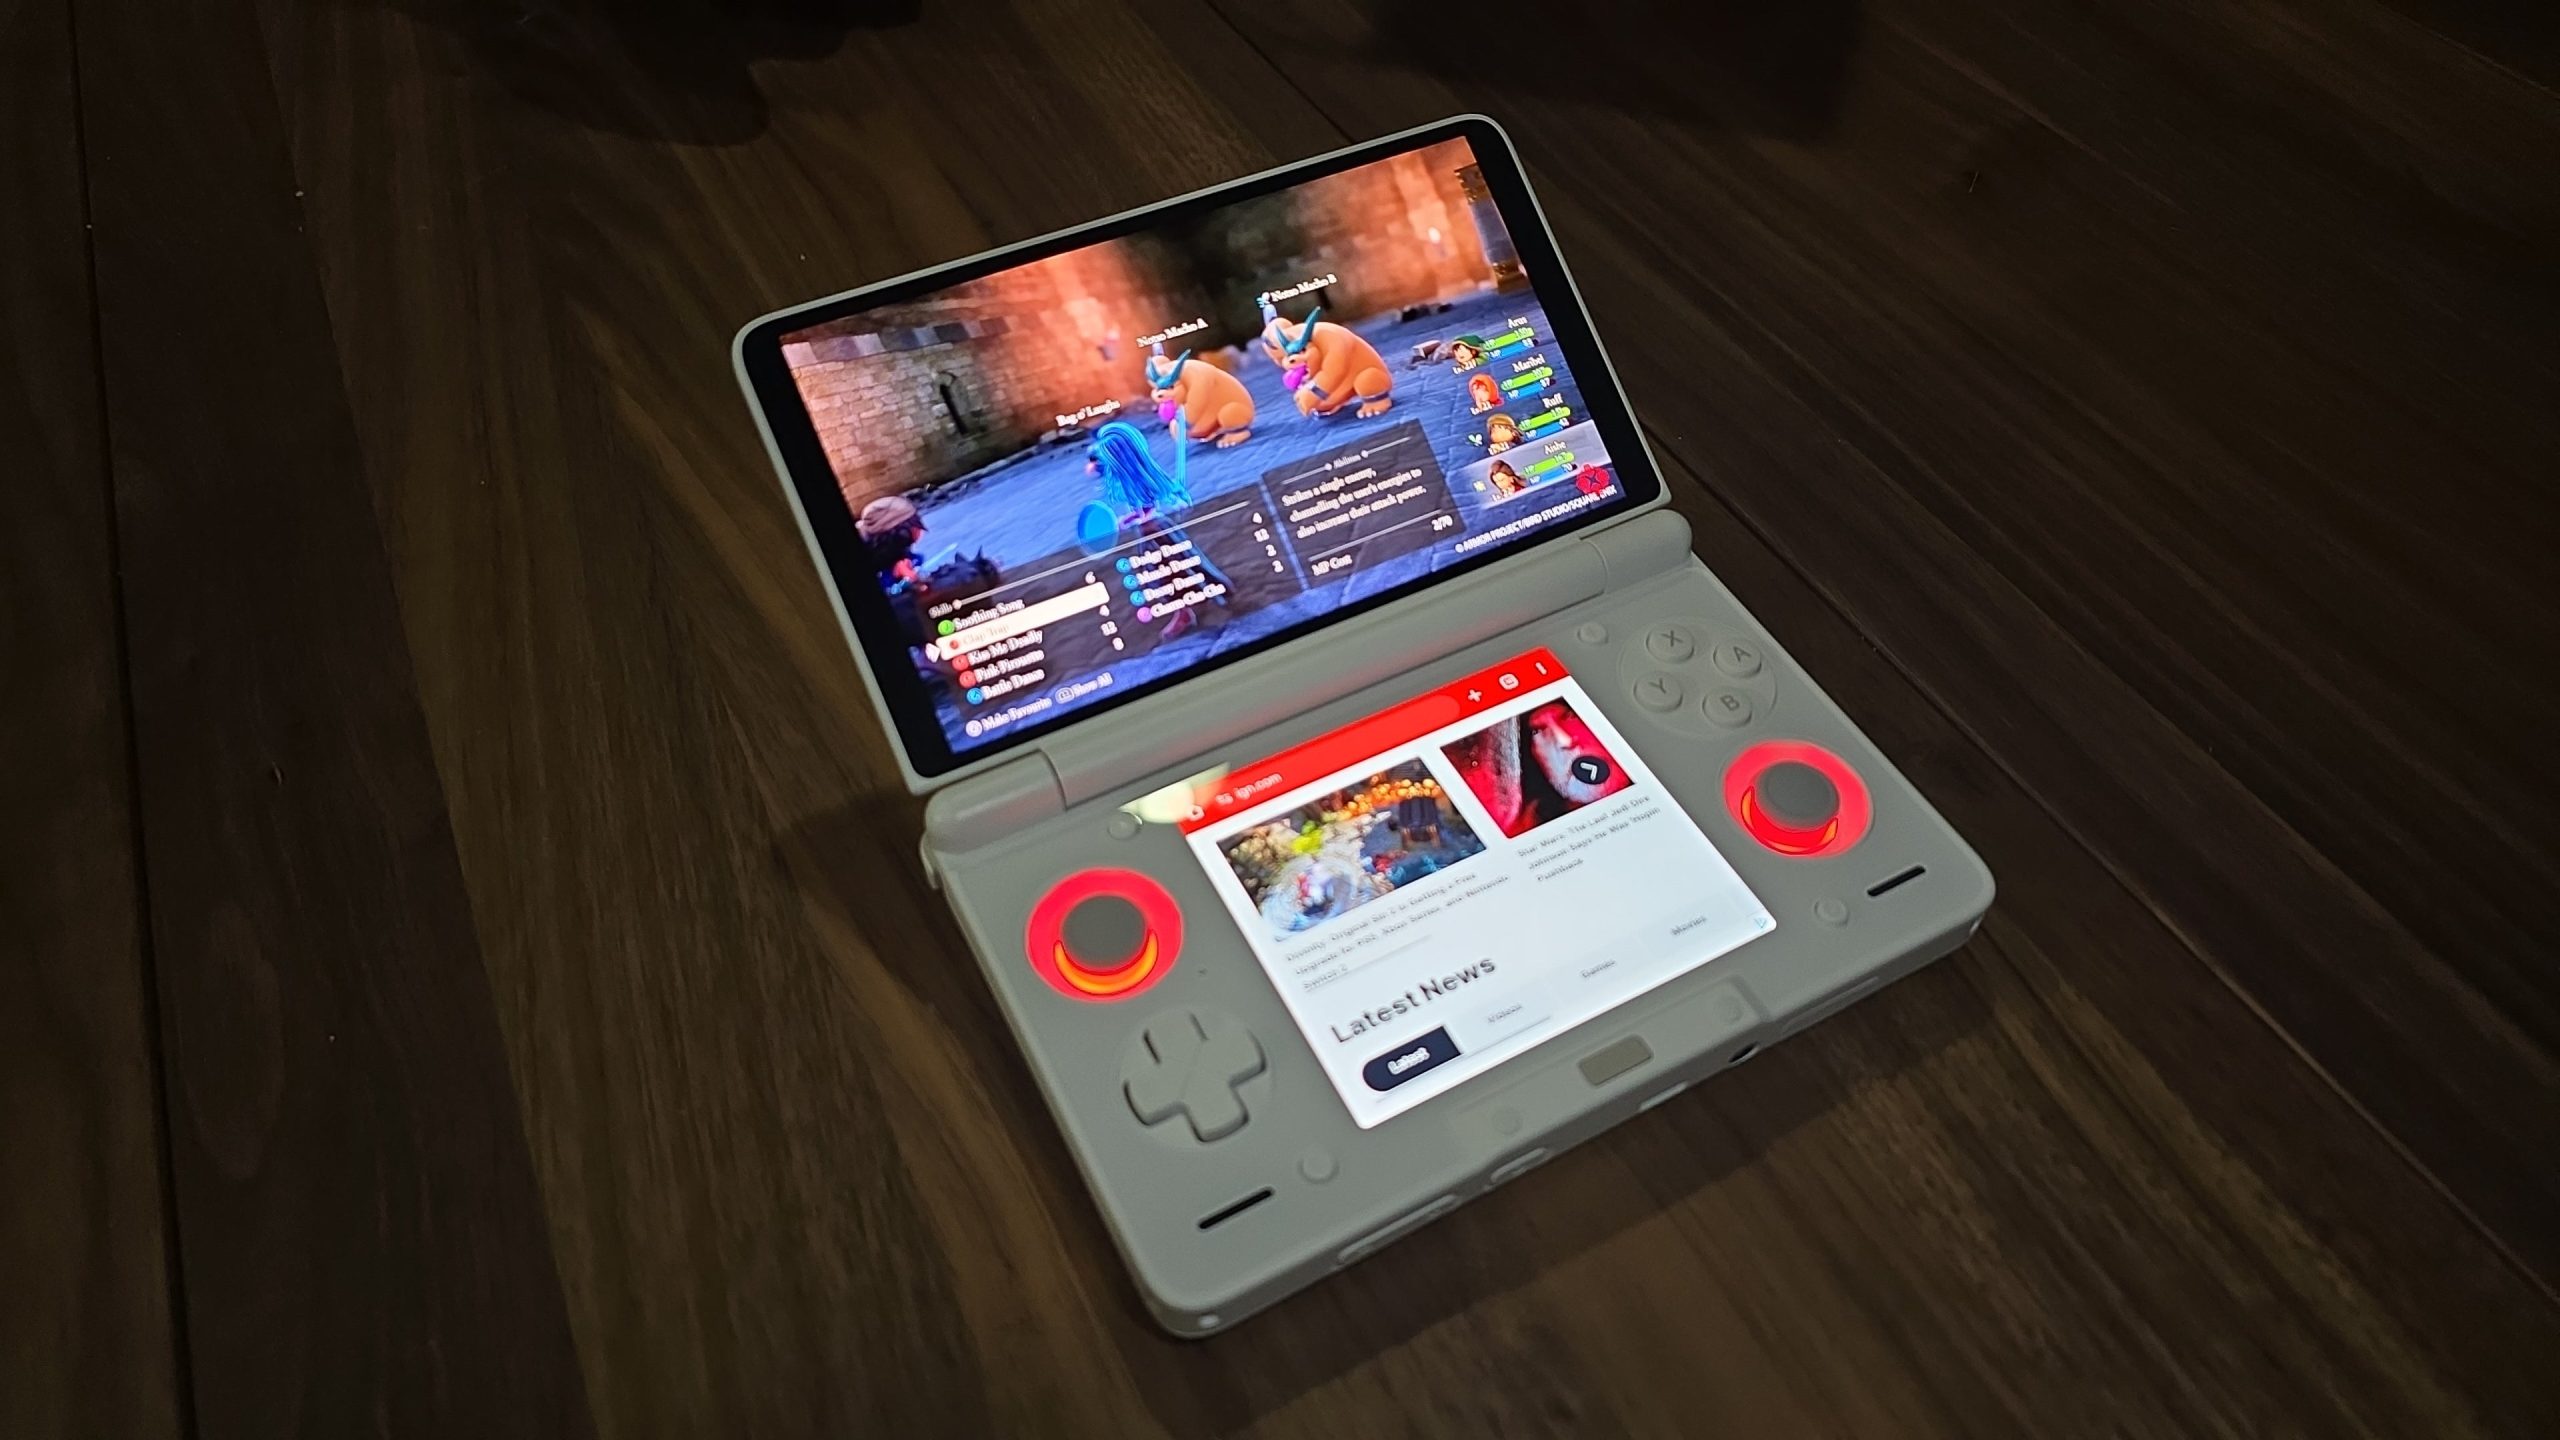
7. RGB Lighting & Key Mapping
LED Settings: AYN Thor allows per-app LED customization. You can set the lights to blue for PS2 and red for Switch. Enable the “Breath” effect to give the device a sleek look while in standby.
Screen Mapping for Mobile Games: For games like Genshin Impact or Call of Duty Mobile that lack native controller support, swipe the menu from the right edge. Drag the button icons onto the on-screen virtual buttons. Save the profile so the device activates it automatically every time you launch the game.
8. Maintenance, Battery, & Longevity
Fast Charging & Heat: While the Thor supports fast charging, doing so while playing heavy games generates extreme heat. Tip: Charge while the device is idle or use a lower-wattage charger to preserve battery health.
Periodic Cleaning: Use a microfiber cloth for the screen and a cotton swab with a tiny bit of alcohol for the buttons. Use compressed air to blow dust out of the cooling vents every 3 months.
Carrying Case: A hardshell carrying case is non-negotiable. The Thor’s thin-bezel screen is sensitive to pressure when stored in a crowded backpack.