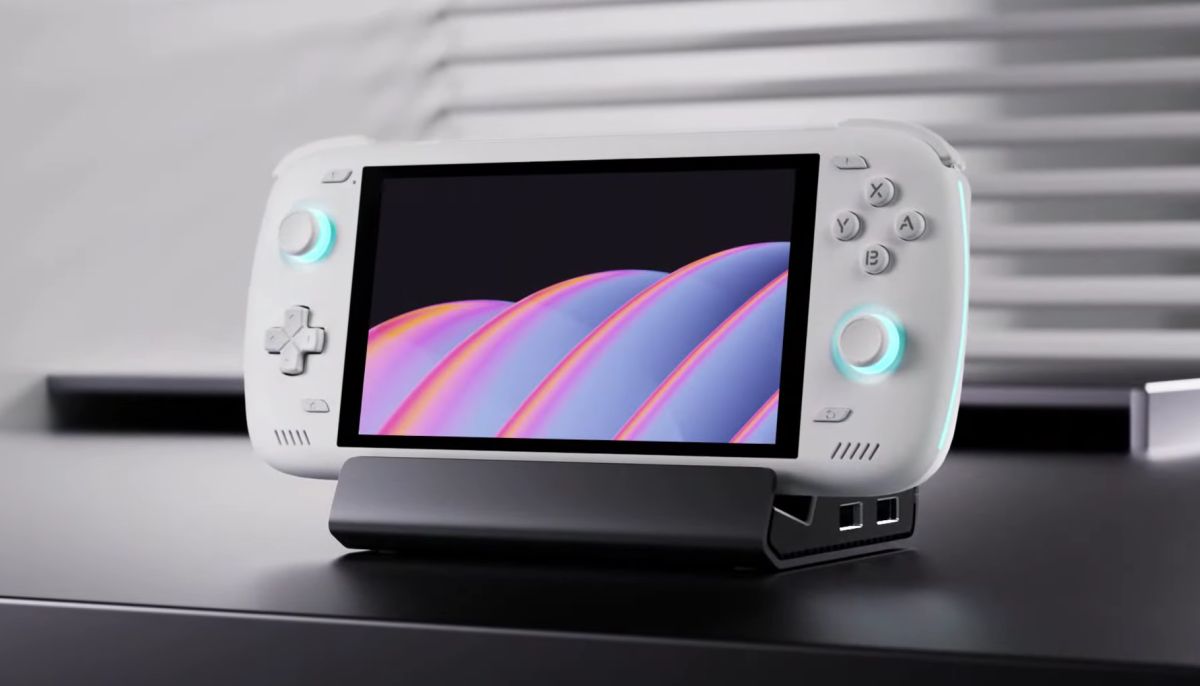
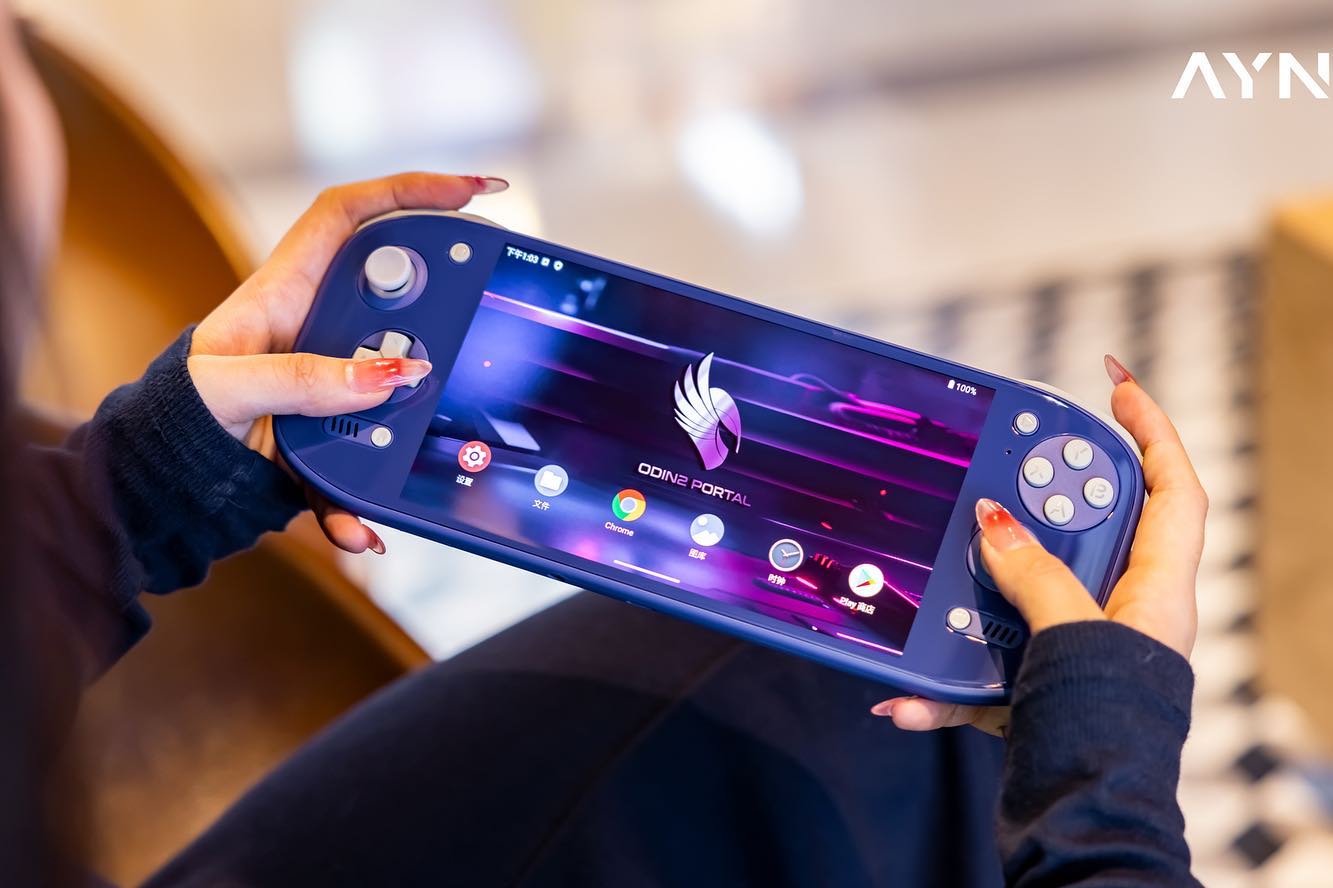
Welcome to the elite club of AYN Odin 2 Portal owners! This device isn’t just another Android handheld; it’s a high-performance masterpiece featuring the Snapdragon 8 Gen 2 chip and a stunning OLED display.
To help you transform this “beast” from a basic Android tablet into the ultimate gaming console, here is a comprehensive, easy-to-follow Start Guide.
PHASE 1: UNBOXING & ESSENTIAL SETUP
Before you rush to download games, you need to “clean up” the system to ensure the smoothest experience possible.
1. System Update (OTA)
Immediately connect to Wi-Fi and go to Settings > System > Updater. AYN frequently releases patches to:
- Optimize Hall Effect analog stick sensitivity.
- Calibrate the OLED panel colors (to prevent tinting issues).
- Improve battery management and thermal profiles.
2. Performance Modes & Cooling
Swipe down the notification shade to find three performance tiers:
- Standard: Best for web browsing, YouTube, or retro systems (NES, GBA). It saves maximum battery.
- Performance: The “sweet spot” for PSP, GameCube, and Wii.
- High Performance: Only toggle this on for heavy PS2 titles or Nintendo Switch emulation.
- Fan Mode: Set this to Smart. If the device feels warm during Switch gameplay, switch to Sport mode to maintain a steady FPS.
PHASE 2: SETTING UP THE EMULATION ENGINE
To play games from other consoles, you need three components: The Emulator (App), BIOS files (the system’s “soul”), and ROMs (the game files).
1. The “Golden List” of Emulators
Don’t clutter your device with random apps. Stick to these top-tier choices:
- Retro Systems (NES, SNES, GBA, PS1): Use RetroArch.
- PSP: Use PPSSPP. (On the Odin 2 Portal, you can easily run games at 5x resolution—looking much better than the original hardware).
- PlayStation 2: Use NetherSX2 (The best community-patched version of the old AetherSX2).
- GameCube & Wii: Use Dolphin.
- Nintendo Switch: Use Sudachi or Uzuy Edge (The successors to the now-defunct Yuzu).
2. The Secret Sauce: Turnip Drivers (For Switch)
The Snapdragon 8 Gen 2 requires a specific “translator” to understand Switch graphics.
- Search for and download Turnip Driver files (usually in .zip format).
- In your Switch emulator settings (like Sudachi), go to GPU Driver Manager and install this zip file. This significantly boosts FPS and fixes graphical glitches in titles like Mario Kart 8 Deluxe.
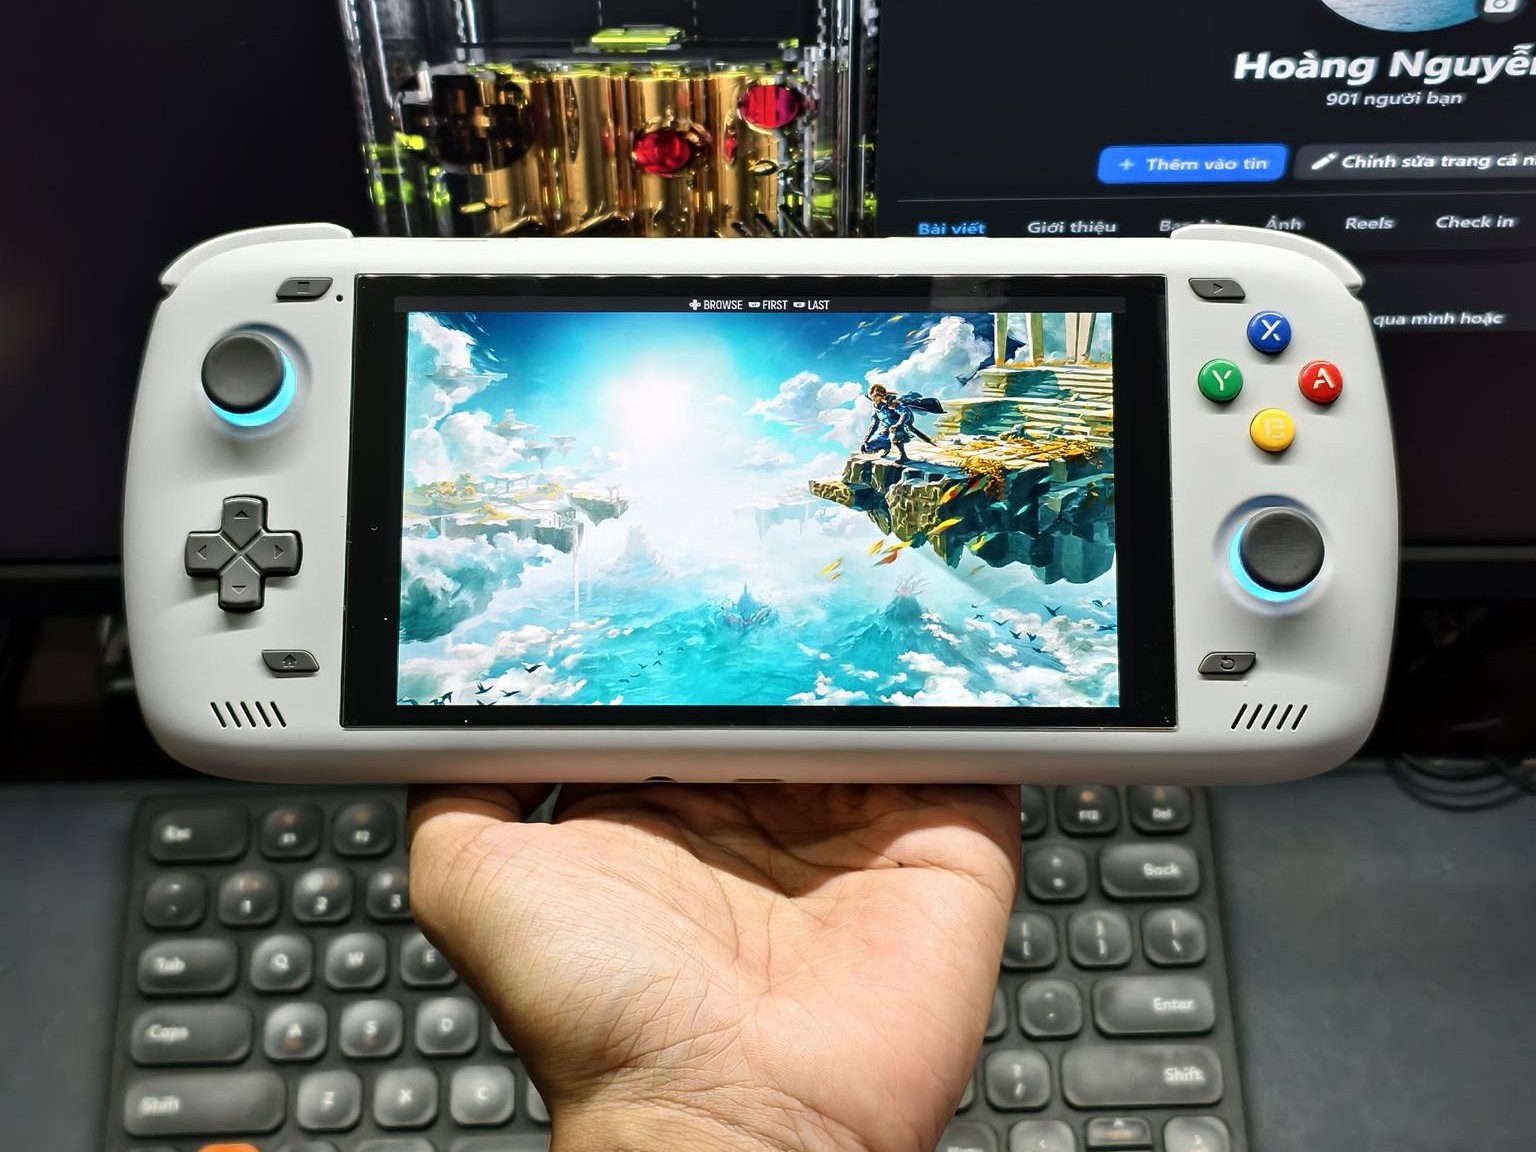
PHASE 3: MAXIMIZING THE OLED EXPERIENCE
The OLED screen is the Portal’s greatest weapon. Its perfect blacks make games feel incredibly immersive.
- Widescreen Patches: Most PS2 games were made in 4:3 (square) format. In NetherSX2 settings, enable “Widescreen Patches.” The game will automatically fill the Portal’s 16:9 screen without stretching the image.
- Contrast & Gamma: If dark areas in a game look “crushed” (losing detail), go to Settings > Display and slightly adjust the Gamma.
- Shaders for Retro Games: In RetroArch, enable CRT or LCD shaders. On an OLED screen, these filters look breathtakingly authentic, mimicking the look of old-school glass TVs perfectly.
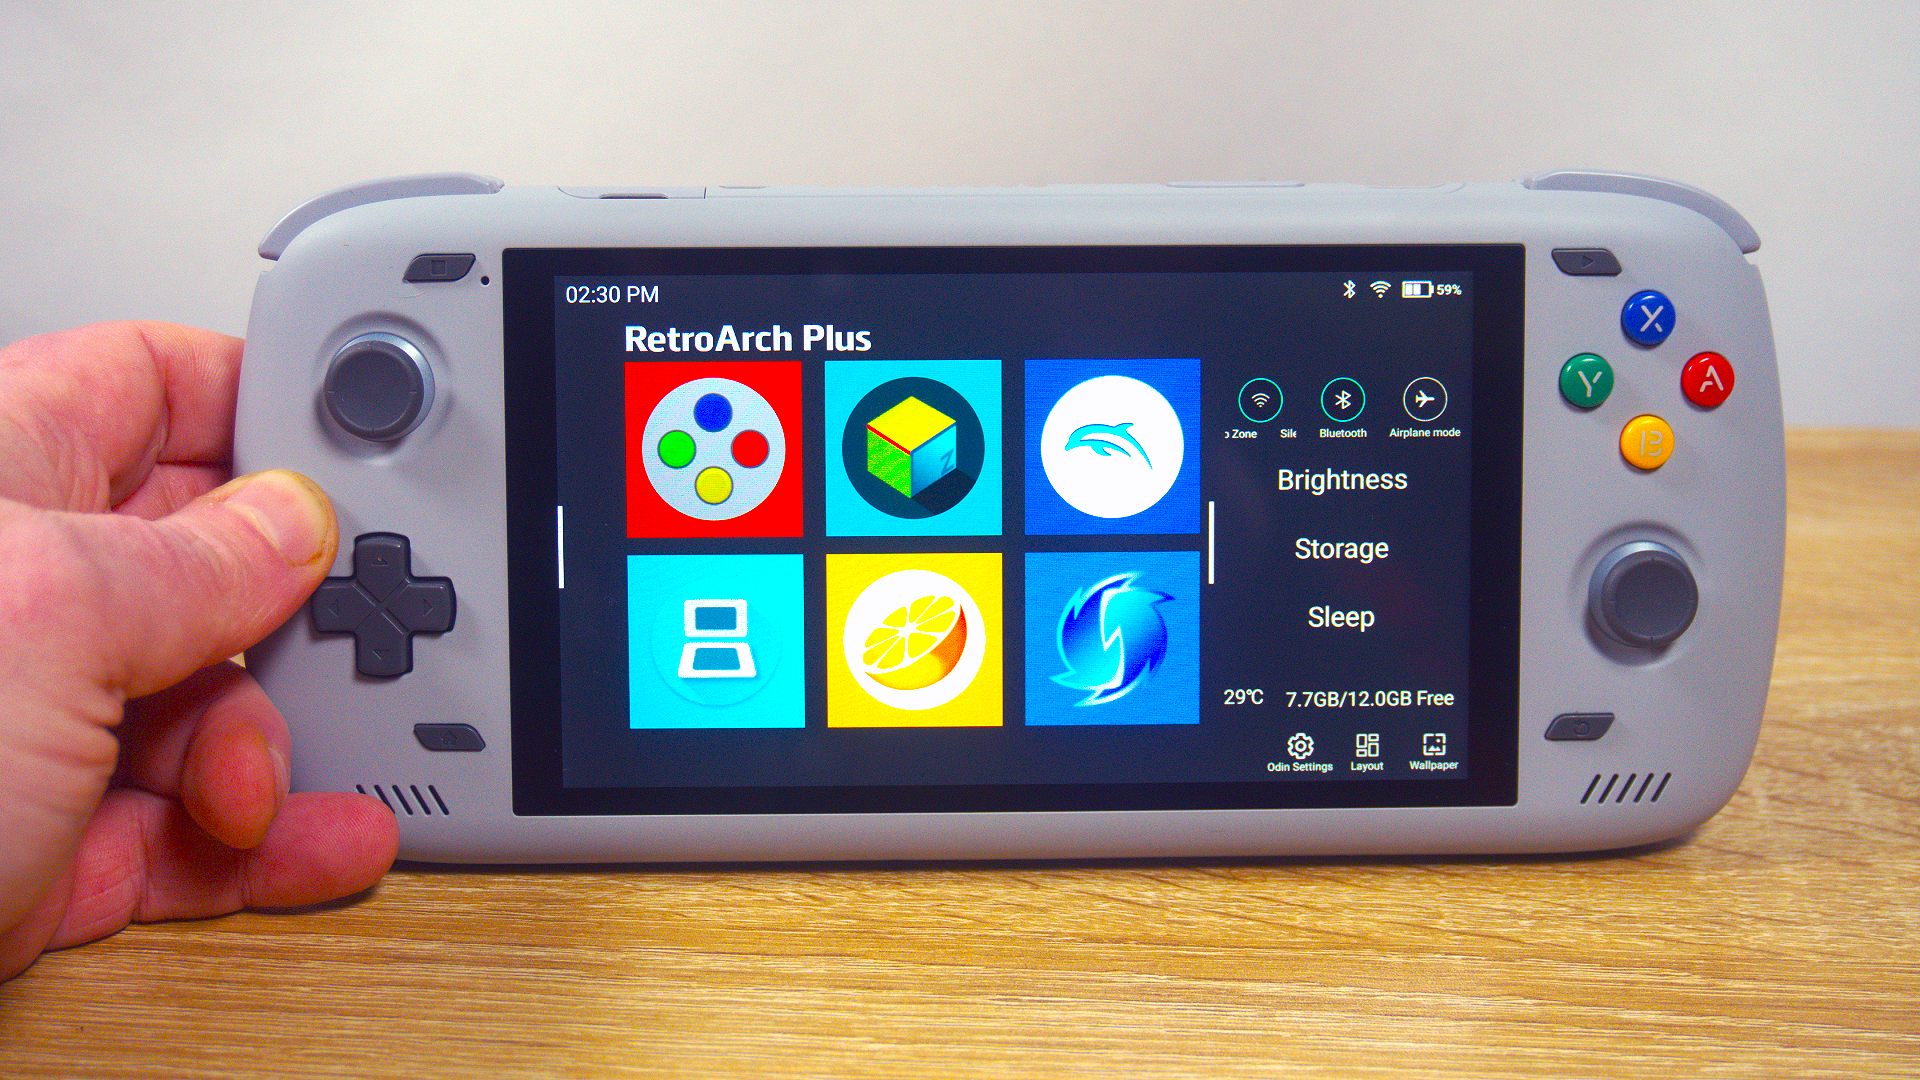
PHASE 4: ORGANIZING YOUR LIBRARY (THE FRONTEND)
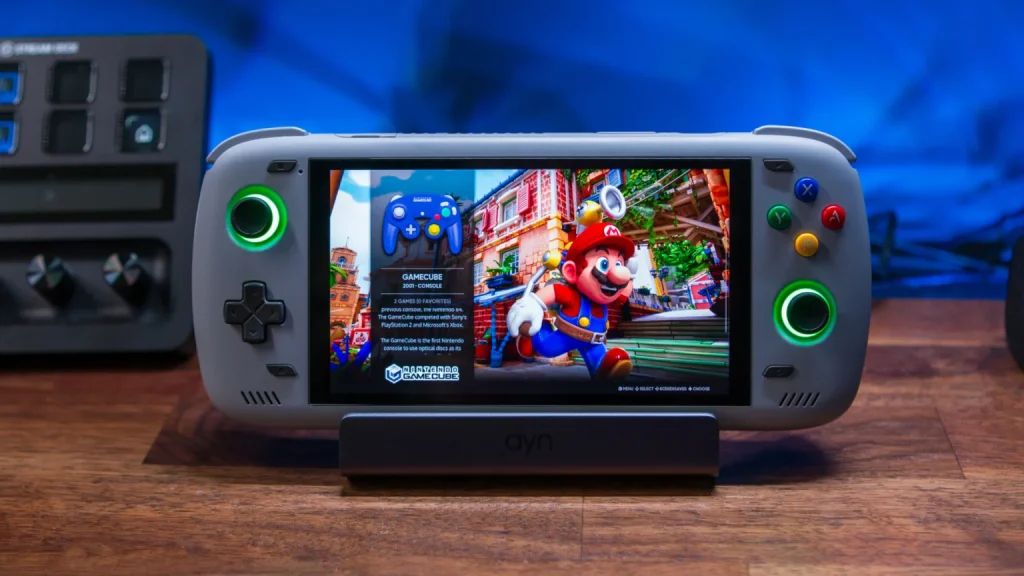
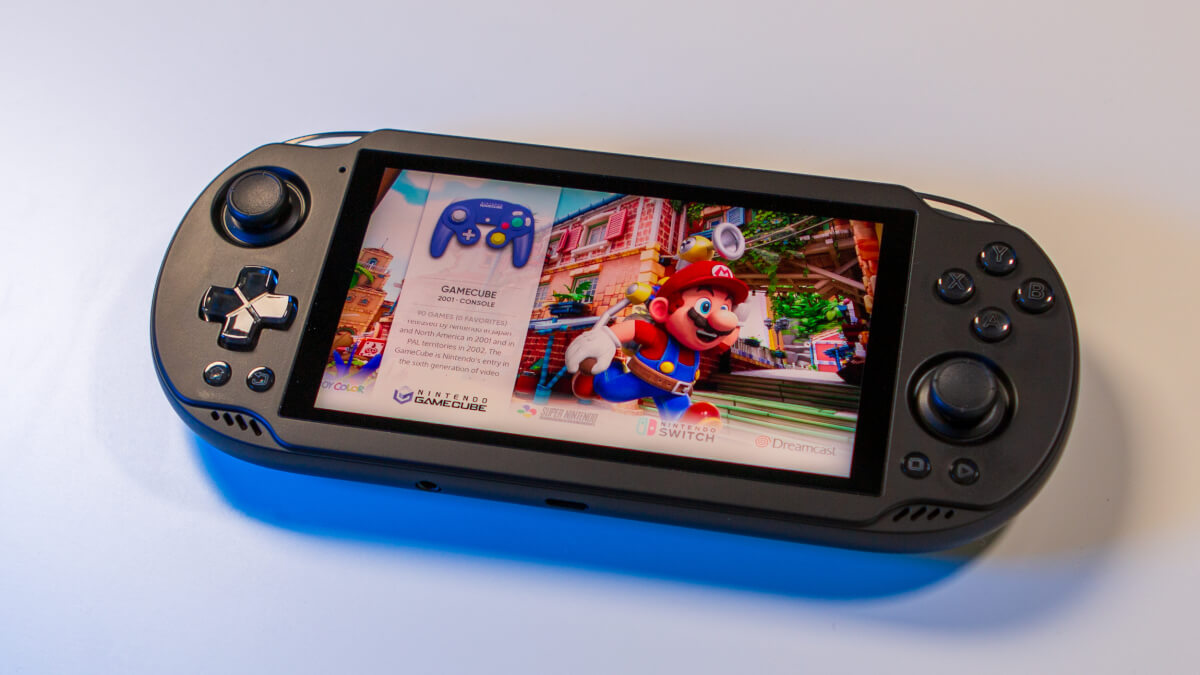
You don’t want to launch games by tapping messy Android icons. Use Daijishou (Free on the Play Store) to create a professional console interface.
- Open Daijishou and select the platforms you have games for.
- Point the app to your game folders on the MicroSD card.
- Tap Sync: The app will automatically download beautiful Box Art and descriptions for every game.
- Now, every time you turn on your machine, you can browse your collection just like choosing a movie on Netflix.
PHASE 5: “SURVIVAL” TIPS FOR BEGINNERS
1. Bypass Charging (The Most Important Feature)
If you play while plugged in, the battery gets hot and degrades quickly.
- How to use: Plug in the charger, swipe the Odin menu from the right edge of the screen, and select Bypass Charging.
- The Result: Electricity flows directly to the components to run the device, bypassing the battery entirely. Your battery percentage will stay still, and the device will remain cool.
2. Screen Mapping (Play Touch Games with Buttons)
For games that don’t support controllers (like Genshin Impact or PUBG):
- Open the game and swipe the Odin menu from the right.
- Select Key Link.
- Drag and drop the physical button icons (A, B, X, Y, Joysticks) over the on-screen touch buttons. Save it.
- You can now play touch-only mobile games using your physical sticks and buttons.
3. Proper SD Card Structure
To keep your system stable, organize your MicroSD card like this:
ROMS/
- PS2/
- Switch/
- PSP/
BIOS/ (Store your system files for PS2 and Switch here)
SAVES/ (Keep your save files separate for easy cloud backup)
SUMMARY: YOUR ROADMAP
- Day 1: Update the system, install Daijishou, and explore the Odin settings menu.
- Day 2: Download BIOS files and install your core emulators.
- Day 3: Transfer your games to the SD card and “Scrape” the box art.
- Day 4: Enjoy!
Final Advice: Don’t try to install thousands of games at once. Pick 5–10 “must-play” titles for each system and get them running perfectly before adding more. Happy gaming!